Altering and customizing your clothing can breathe new life into old garments, fit them better, and make them uniquely yours. Whether you’re fixing a hem, adjusting a fit, or adding decorative elements, these skills can save you money and enhance your wardrobe. Here’s a step-by-step guide to help you alter and customize your clothing effectively.

Assess the Garment
Before you start altering, carefully assess the garment you want to customize. Look at the fit, the areas that need adjustment, and any design changes you want to make. Identify specific problems such as a too-large waist, too-long sleeves, or a need for a new style element.
Gather Your Supplies
Having the right tools and supplies is crucial for successful alterations. Common tools include:
- Sewing machine
- Seam ripper
- Measuring tape
- Fabric chalk or markers
- Pins and needles
- Thread matching the garment color
- Scissors or rotary cutter
- Iron and pressing cloth
Make Necessary Measurements
Accurate measurements are essential for making precise alterations. Measure the areas that need adjustment, such as the waist, bust, hips, inseam, or sleeve length. Compare these measurements to the garment’s current dimensions to determine how much alteration is needed.
Pin and Mark Your Adjustments
Use pins to mark where you need to make changes. For example, if you’re shortening a dress, pin the fabric at the desired length. Use fabric chalk or markers to draw new seam lines, hems, or other design changes directly onto the garment.
Adjust the Fit
Here are some common adjustments:
- Taking In or Letting Out: To make a garment fit better, you may need to take in (sew the garment smaller) or let out (add fabric to make it larger). For a better fit, sew along the new seam lines and then trim any excess fabric.
- Shortening or Lengthening Hems: To alter the length, measure how much fabric needs to be removed or added. Fold the hem to the desired length, press it flat, and sew along the edge.
- Adjusting Sleeves or Shoulders: If sleeves are too long or shoulders are too wide, adjust the seam lines accordingly. For sleeve length, remove the existing hem, shorten the sleeve, and re-hem.
Add Customization Elements
Customization adds a unique touch to your clothing. Consider these ideas:
- Adding Pockets: Sew on new pockets or modify existing ones to make them functional or decorative.
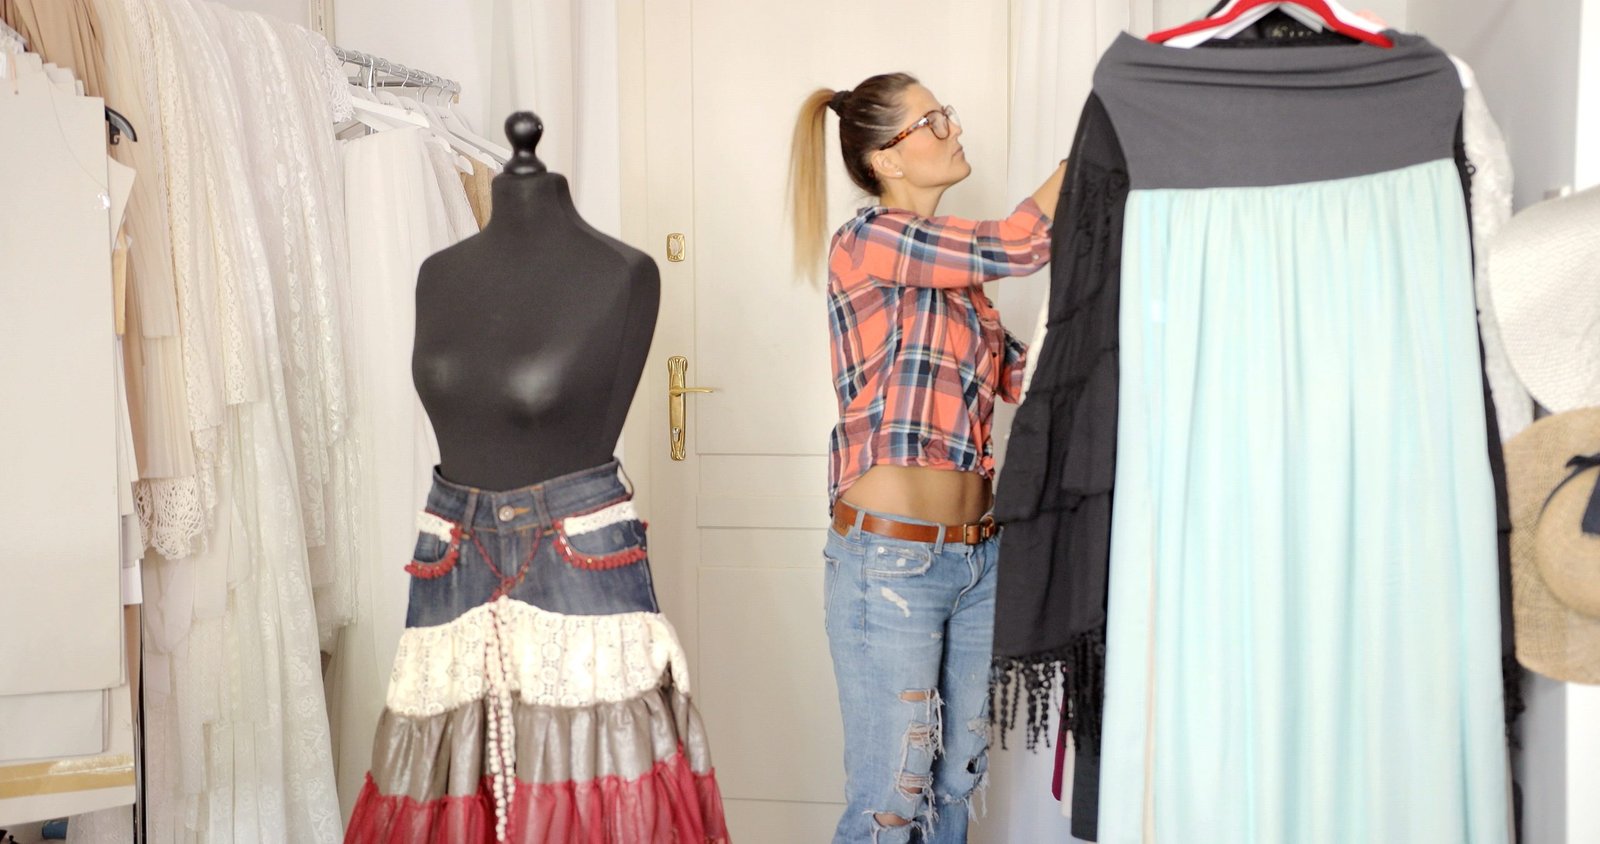
- Embellishments: Add lace, embroidery, or appliqué to give your garment a personal touch.
- Fabric Changes: Replace or add fabric to collars, cuffs, or patches for a fresh look.
Sew and Finish
Once you’ve marked and pinned your alterations, it’s time to sew. Use a sewing machine for precision or hand-sew for delicate fabrics. After sewing, trim excess fabric and press the seams to ensure they lay flat and look polished.
Try It On
Always try on the garment after making alterations to check the fit and look. Make any necessary adjustments to ensure that the garment fits well and meets your design expectations.
Care for Your Altered Garments
Proper care helps maintain your alterations. Follow the garment’s care instructions and handle it with care to ensure your customizations last.
Conclusion
Altering and customizing your clothing allows you to create garments that fit perfectly and reflect your personal style. By assessing your garments, making precise measurements, and using the right techniques and tools, you can transform your wardrobe and breathe new life into your clothes. With practice, you’ll gain confidence in your ability to make these changes and enjoy the satisfaction of wearing customized clothing that’s uniquely yours.


