Creating your own tapestry can be a rewarding and personal way to enhance your home decor. Whether you’re a seasoned crafter or a beginner, these DIY tapestry projects are a great way to express your creativity. Here’s a step-by-step guide to help you through the process:

Gather Your Materials
Basic Supplies:
- Fabric or Canvas: Choose a sturdy fabric like cotton, linen, or a pre-stretched canvas as your base.
- Yarn or Thread: Opt for a variety of colors and textures to create your design.
- Needles: Use embroidery needles for stitching or tapestry needles for weaving.
- Scissors: For cutting fabric and yarn.
- Tapestry Frame or Hoop: If needed, to keep your fabric taut.
Additional Supplies (Optional):
- Fabric Paint or Dye: To add color or design elements.
- Beads, Sequins, or Appliqué: For embellishments.
Design Your Tapestry
Sketch Your Design:
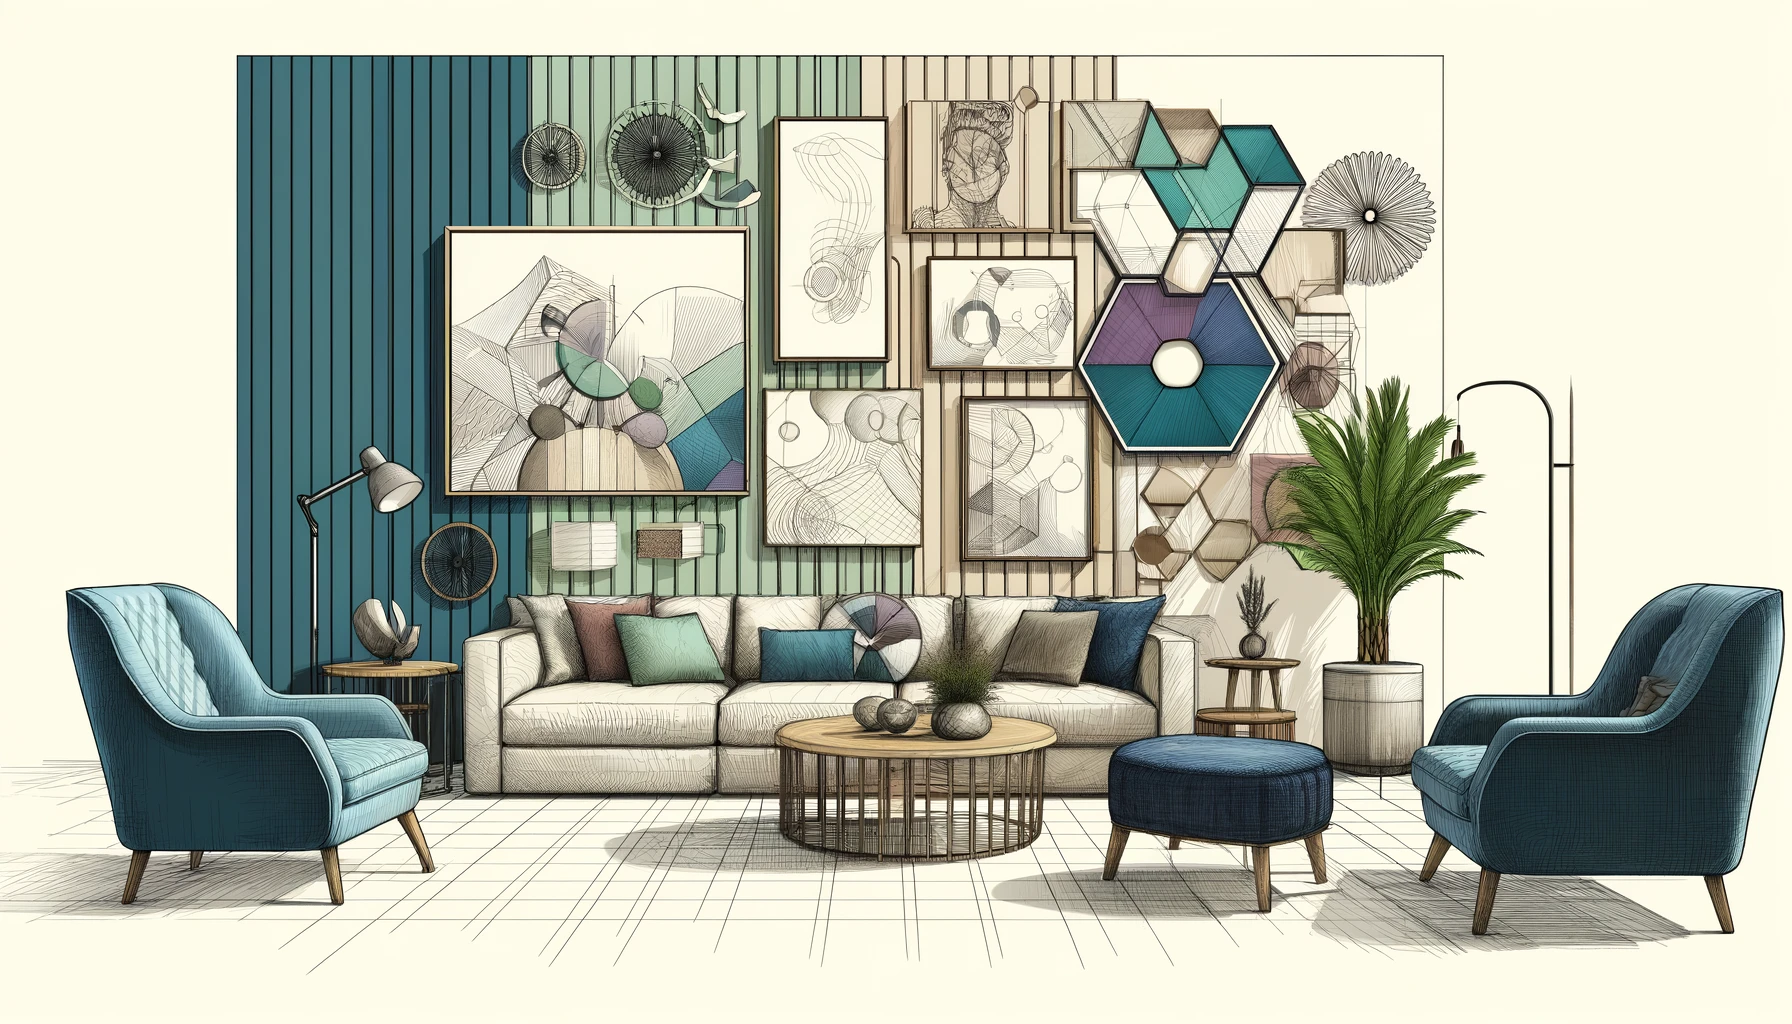
- Concept: Decide on the theme or pattern. It could be abstract, floral, geometric, or a specific image.
- Sketch: Create a rough sketch of your design on paper or use design software to visualize it.
Transfer Your Design:
- Tracing: Lightly trace your design onto the fabric using a pencil or fabric marker.
- Grid Method: For more detailed designs, use a grid method to ensure accuracy.
Prepare Your Fabric
Cut and Stretch:
- Cut Fabric: Cut your fabric to the desired size, leaving extra for borders or framing.
- Stretch Fabric: If using a canvas, ensure it’s stretched tightly on the frame or hoop.
Pre-treat Fabric:
- Wash: Wash and iron your fabric to remove any wrinkles or sizing.
Start Weaving or Stitching
Weaving:
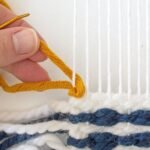
- Set Up Loom: If using a loom, set it up according to the instructions.
- Weave: Follow your design, weaving yarn over and under the warp threads. Use different colors and textures for various effects.
Embroidery:
- Outline Design: Use a simple stitch (e.g., backstitch, satin stitch) to outline your design.
- Fill In: Fill in the design with different stitches and colors. Experiment with textures and patterns.
Add Details and Embellishments
Textural Elements:
- Add Yarn: Incorporate yarn loops or knots to create texture.
- Beads and Sequins: Sew on beads or sequins for added sparkle and detail.
Fabric Paint or Dye:
- Paint: Use fabric paint to add details or enhance colors.
- Dye: For a more extensive color change, dye the entire piece before adding other elements.
Finish and Frame Your Tapestry
Edge Finishing:
- Hem Edges: Fold and hem the edges to prevent fraying.
- Mounting: Attach the tapestry to a backing or frame if desired.
Hanging:
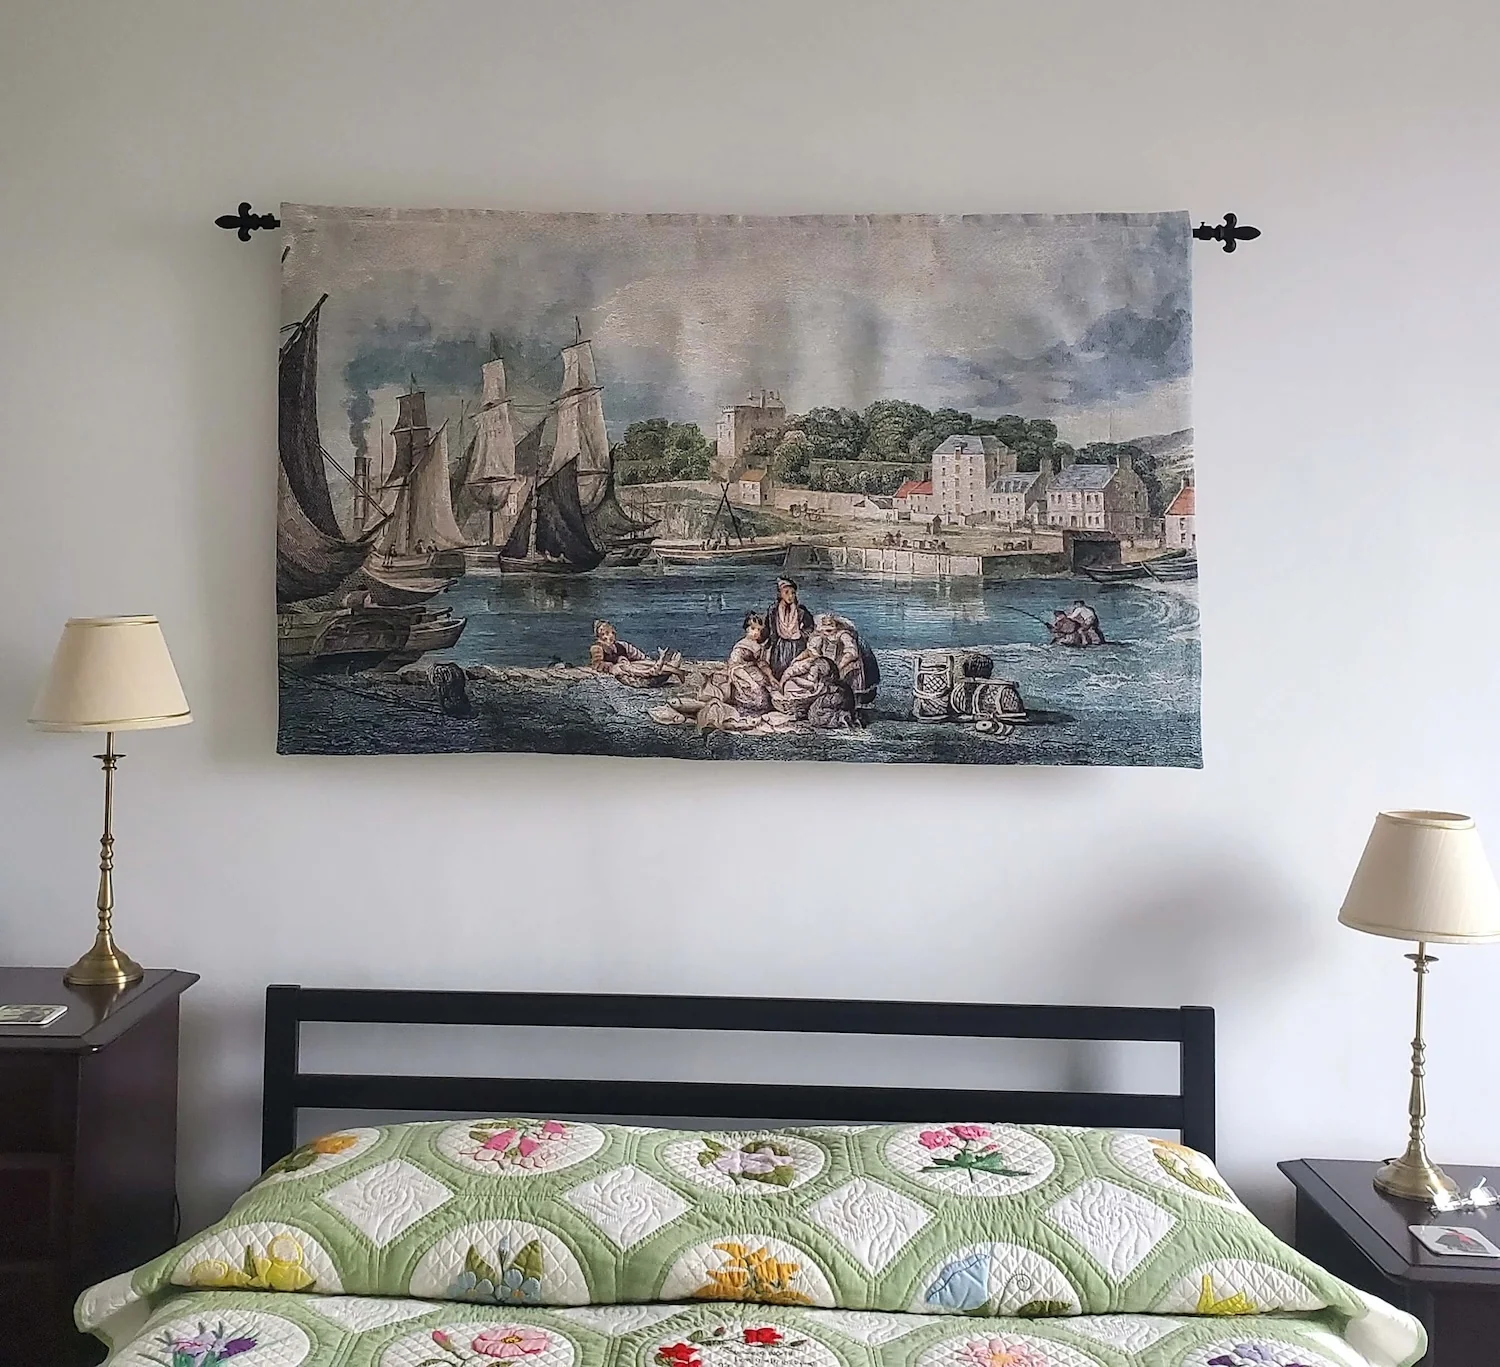
- Rod Pocket: Sew a rod pocket at the top for easy hanging.
- Hooks or Nails: Use hooks or nails to hang your tapestry on the wall.
Care and Maintenance
Cleaning:
- Spot Clean: Use a damp cloth to spot clean any stains.
- Gentle Wash: For full washes, follow the care instructions for your fabric and yarn.
Storage:
- Store Flat: Store the tapestry flat or rolled to prevent creasing.
Conclusion
Creating a DIY tapestry is a fulfilling project that allows you to personalize your home decor. By following these steps, you can design and craft a tapestry that reflects your style and adds a unique touch to your space. With the right materials and techniques, you’ll have a beautiful piece of art to display and enjoy.


