")


Weaving offers a distinctive way to create one-of-a-kind wall art for your home. By combining traditional techniques with personal creativity, you can produce stunning, custom pieces that enhance your space. Here’s a step-by-step guide to help you craft unique wall art through weaving.
1. Gather Your Materials
Firstly, collect the necessary materials for your weaving project. You’ll need a loom, yarn or thread in various colors and textures, and a tapestry needle. Consider using additional elements like beads or fabric scraps for added texture and visual interest. Gathering high-quality materials ensures your wall art will be both durable and visually appealing.
2. Choose Your Design
Next, plan your design before starting the weaving process. Decide on the patterns, colors, and textures you want to incorporate. Sketching out your design or creating a mood board can help visualize the final piece. Experiment with different patterns, such as geometric shapes, abstract designs, or nature-inspired motifs. This planning stage is crucial for achieving a cohesive and striking result.
3. Set Up Your Loom
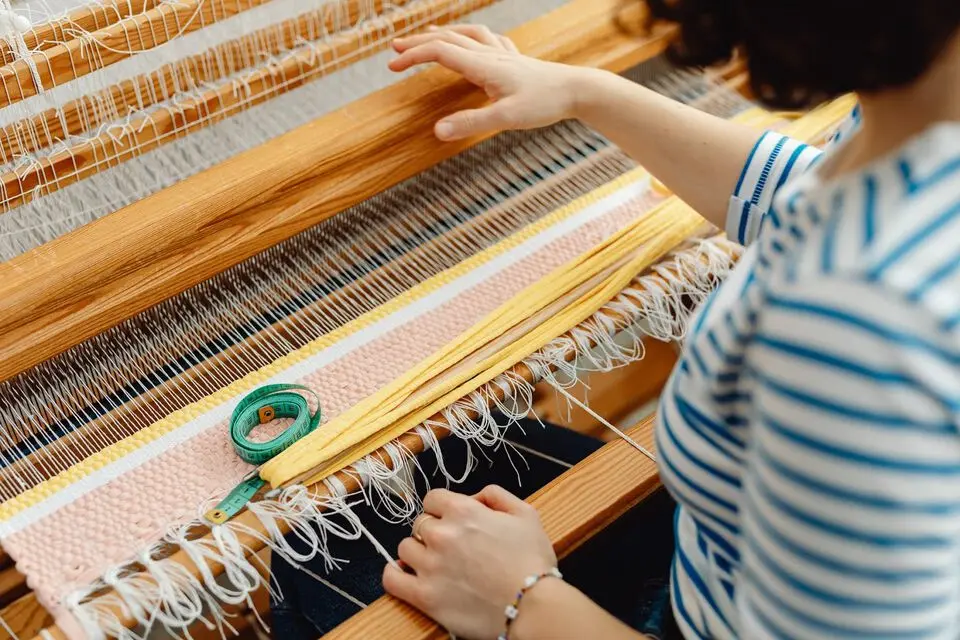
Once you have your design ready, set up your loom. Thread the warp yarn through the loom’s heddles, ensuring it’s evenly spaced and tensioned. The warp threads form the foundation of your wall art and will be woven through with your chosen weft yarn. Properly setting up your loom ensures a smooth weaving process and a well-structured final piece.
4. Begin Weaving
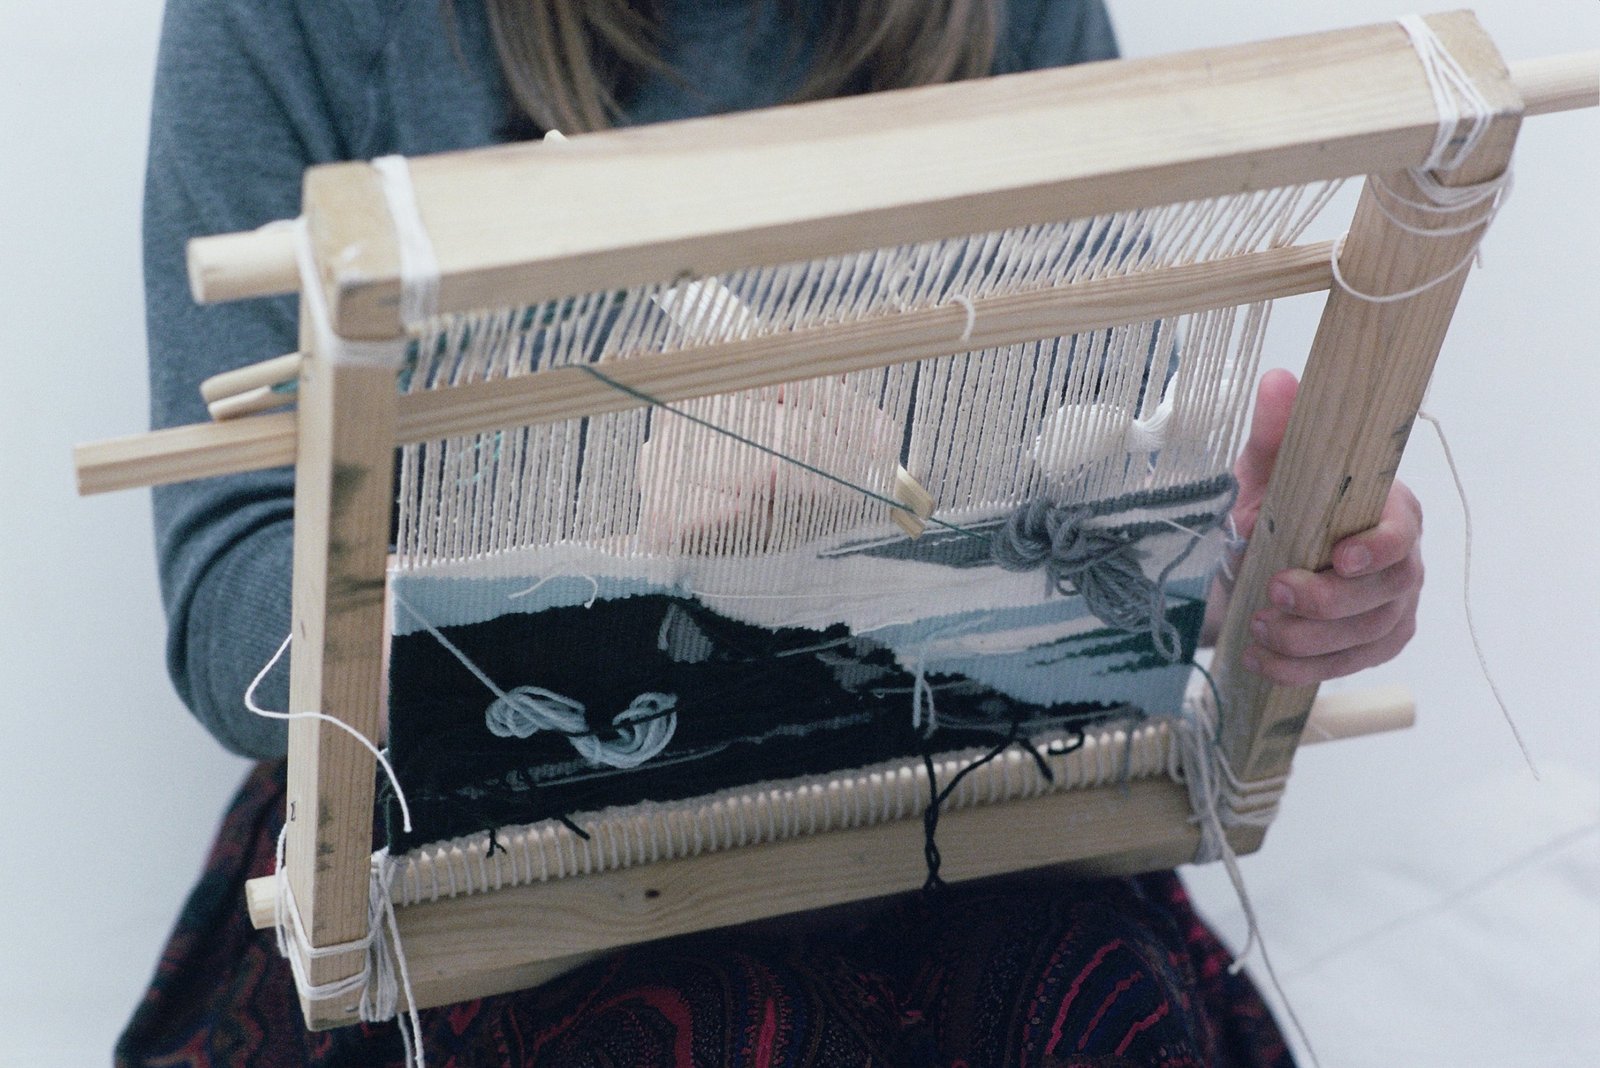
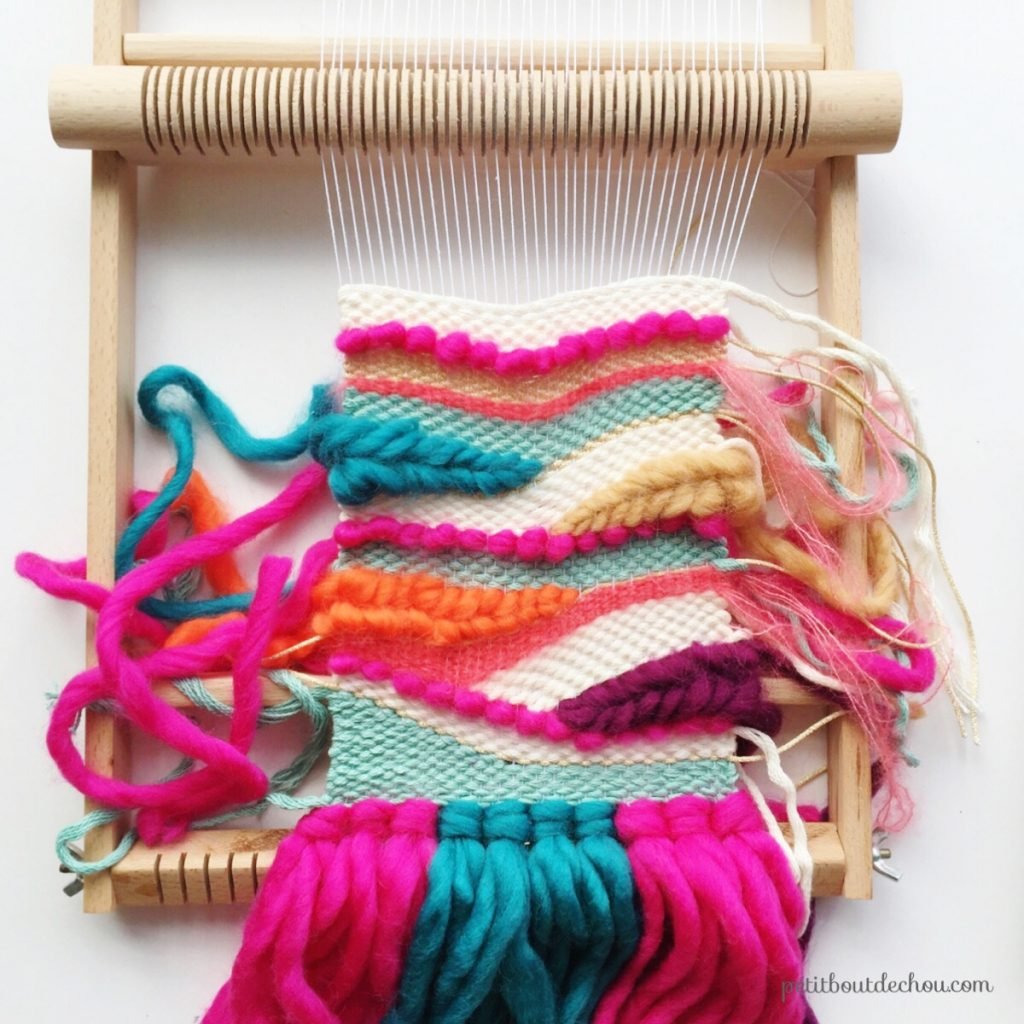
Now, start weaving according to your design. Use the tapestry needle to interlace the weft yarn through the warp threads. Follow your planned pattern, and don’t be afraid to experiment with different techniques. You can try techniques like plain weave, twill, or tapestry weave to achieve various textures and effects. As you weave, periodically step back to assess the progress and make any necessary adjustments.
5. Add Decorative Elements
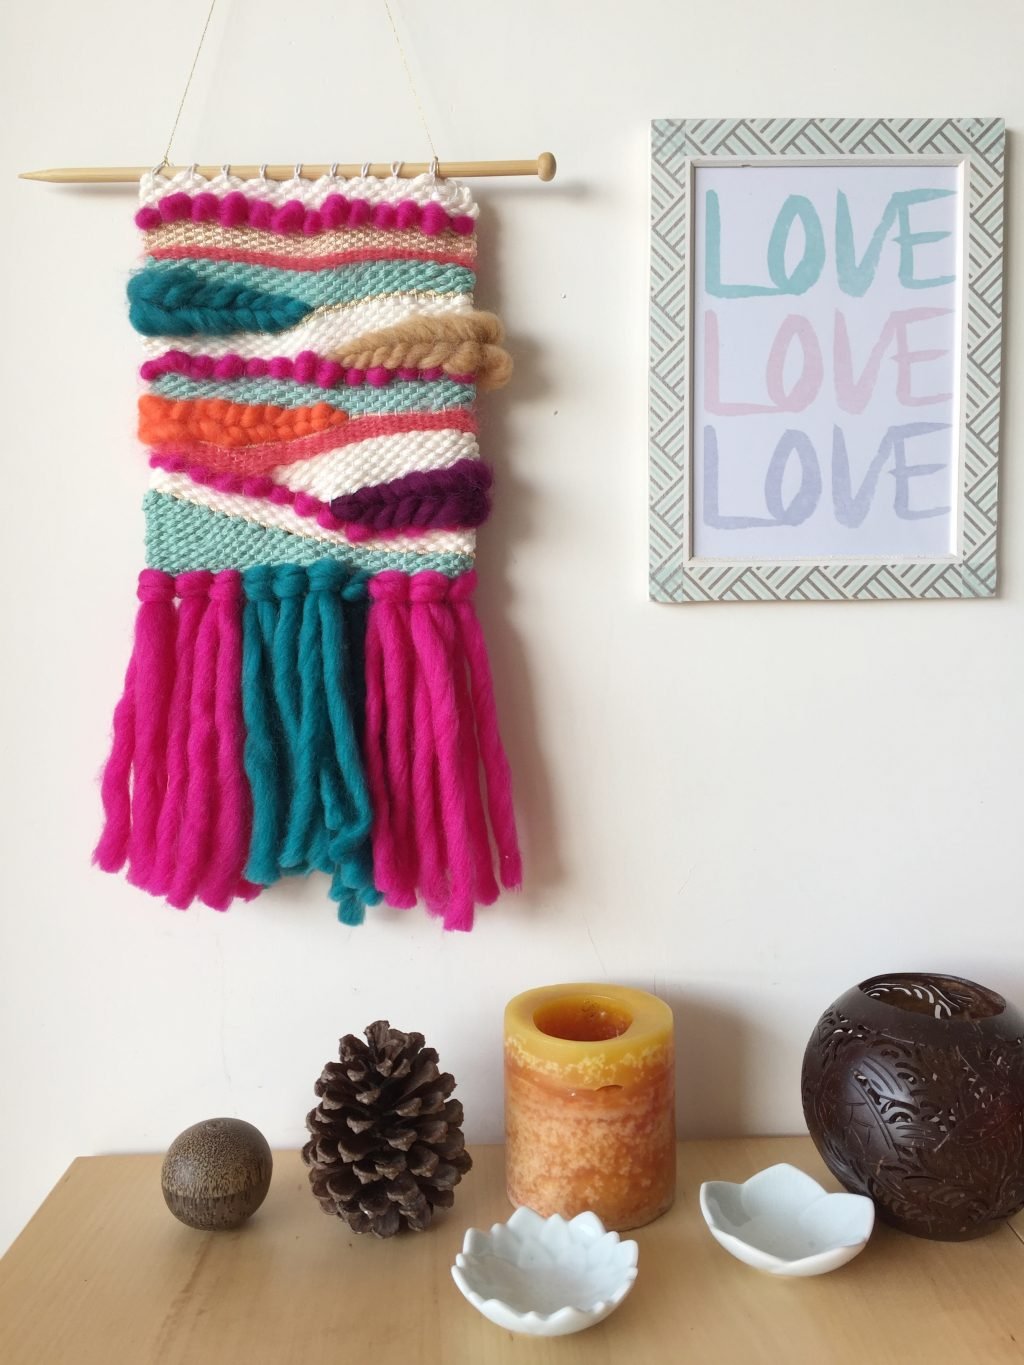
Incorporate decorative elements to enhance your wall art. Add beads, feathers, or fabric scraps to create additional texture and visual interest. These elements can be woven into the fabric or sewn on afterward. Integrating these details adds a unique touch and personal flair to your piece. Be creative and let your design evolve as you work.
6. Finish and Prepare for Display
Once you’ve completed the weaving, it’s time to finish and prepare your artwork for display. Carefully remove the piece from the loom and trim any loose ends. You may need to secure the edges to prevent fraying. Consider adding a hanging rod or frame to display your wall art. Ensure that the final piece is securely mounted and ready to showcase in your space.
7. Display Your Creation
Finally, choose the perfect spot to display your hand-woven wall art. Select a location that highlights the colors and textures of your piece. Consider the overall decor of the room and how your artwork will complement it. Your unique wall art can serve as a focal point or a subtle accent, depending on your design and placement.
Conclusion
Creating unique wall art through weaving allows you to infuse your space with personal creativity and craftsmanship. By following these steps, you can produce beautiful, custom pieces that reflect your style and taste. Weaving not only offers a satisfying creative outlet but also results in stunning artwork that enhances your home decor. Embrace the art of weaving and enjoy the process of crafting one-of-a-kind wall art.