Weaving is an ancient craft that continues to captivate hobbyists and artisans alike. If you’re new to weaving, setting up a loom can seem daunting. However, with a step-by-step approach, you can easily get started and begin creating beautiful woven pieces. This guide will walk you through the basics of setting up a weaving loom for beginners.

Understanding Your Loom
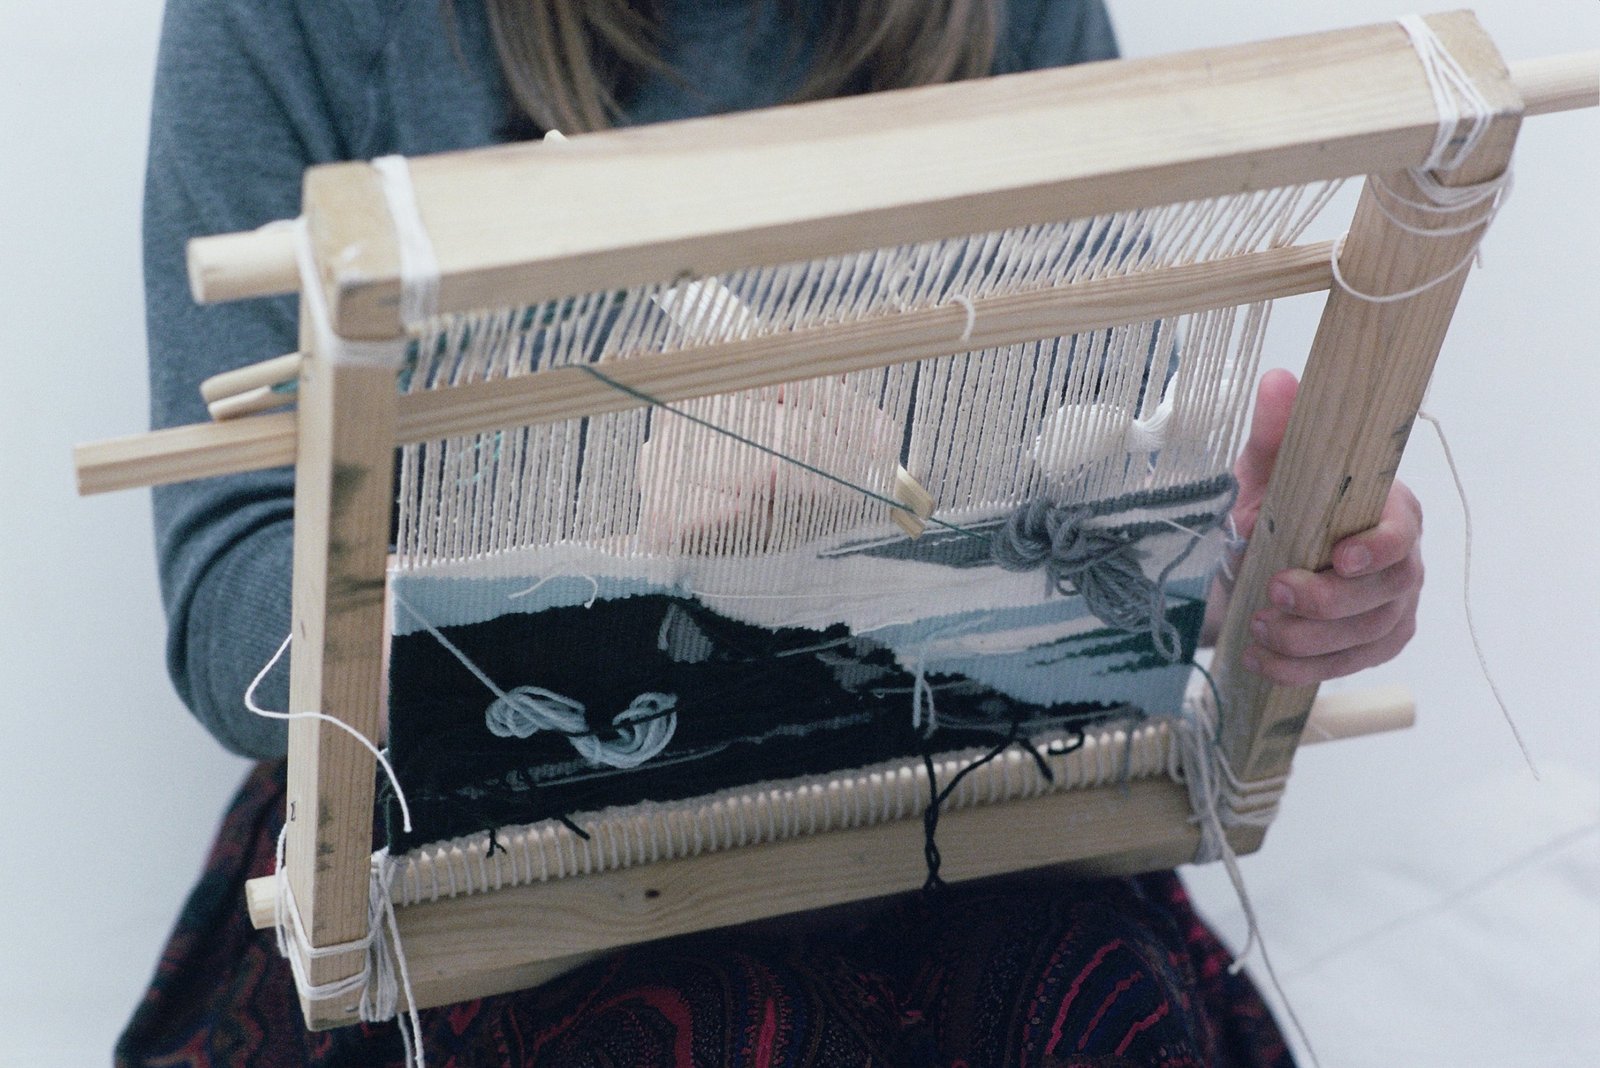
Before you start setting up your loom, it’s essential to familiarize yourself with its parts. Looms come in various types, such as rigid heddle, four-shaft, and multi-shaft looms, but the setup process for each is relatively similar. Here’s a quick overview of common parts you’ll encounter:
- Warp Beam: The part of the loom where you wind the yarn that will become the warp threads.
- Heddles: The vertical rods or wires that hold the warp threads and help create the shed.
- Reed: A comb-like part that pushes the weft threads into place.
- Shuttle: A tool that carries the weft yarn through the warp threads.
- Treadles: Pedals that lift and lower the heddles to create different weaving patterns.
Preparing Your Workspace
Set up your loom in a well-lit, spacious area where you have enough room to maneuver the loom and your yarn. Ensure the loom is stable on a flat surface, and keep essential tools like scissors, a measuring tape, and yarn close by.
Winding the Warp
- Measure Your Yarn: Determine the length of the warp yarn needed based on your project. Measure and cut the yarn, leaving extra length for adjustments.
- Attach the Yarn to the Warp Beam: Secure one end of the yarn to the warp beam. Use a slipknot or a clamp to fasten it.
- Wind the Warp Yarn: Slowly wind the yarn onto the warp beam, making sure it is evenly distributed and not too tight. Maintain consistent tension to avoid issues later.
Threading the Heddles
- Prepare the Heddles: Insert the heddles into the heddle bars. Make sure they are evenly spaced and aligned.
- Thread the Yarn Through the Heddles: Follow the threading pattern specific to your project. Each heddle will hold one or more warp threads. Thread each yarn through the heddle eye and secure it in place.
Setting Up the Reed
- Attach the Reed to the Loom: Position the reed in the reed holder, usually located at the front of the loom.
- Insert the Warp Threads: Gently pull the warp threads through the reed. The reed will help keep the threads evenly spaced and aligned.
Preparing the Weft Yarn
- Prepare the Shuttle: Wind your weft yarn onto the shuttle, making sure it is evenly distributed. This will allow for smooth passing through the warp threads.
- Load the Shuttle: Insert the shuttle with the weft yarn into the shuttle holder, if your loom has one.
Tying on and Testing
- Tie the Warp Threads: Secure the end of the warp threads to the front beam of the loom using knots or ties.
- Test the Loom: Gently push and pull the treadles to ensure the heddles and reed move smoothly and create the desired shed. Make adjustments as needed.
Starting to Weave
- Begin Weaving: With your loom set up, start weaving by passing the shuttle with the weft yarn through the shed created by the heddles. Use the reed to beat the weft yarn into place.
- Adjust Tension: Check the tension of the warp threads periodically and adjust if necessary to ensure an even weave.
Conclusion
Setting up a weaving loom for the first time can be a rewarding experience. By following these steps, you’ll have a well-prepared loom ready for your weaving projects. With practice and patience, you’ll soon master the art of weaving and create beautiful textiles. Enjoy the process and happy weaving!


